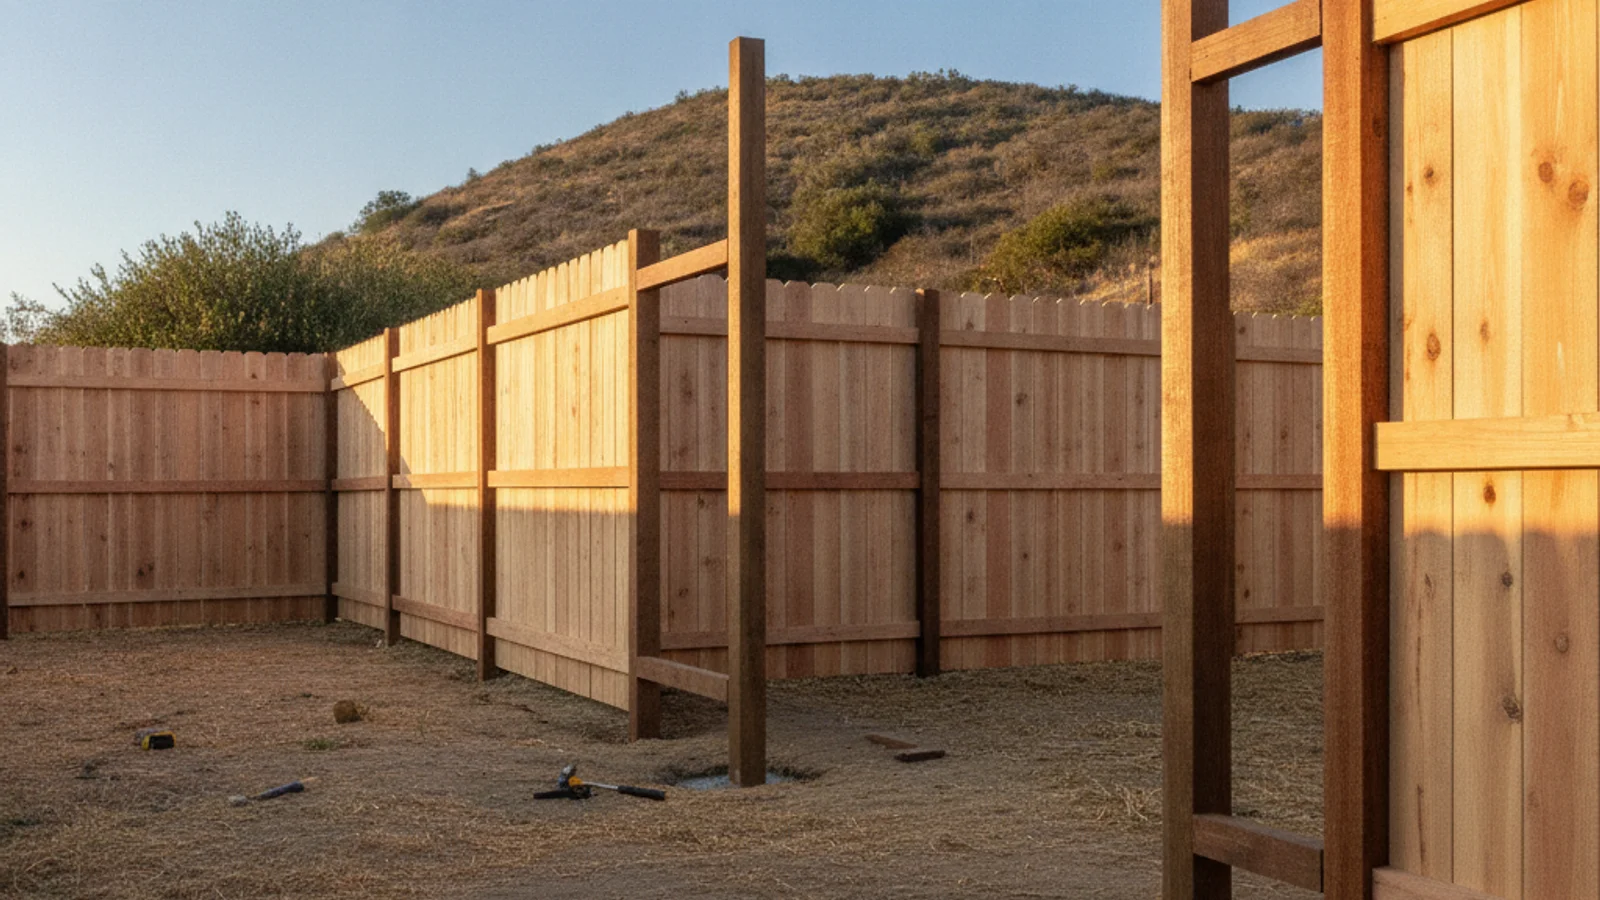
Fence installation in San Diego is a straightforward sequence of steps, most commonly starting on a Monday and wrapping by Friday if the yard is simple and the weather cooperates. The process varies by fence type and slope, but all projects follow the same core phases: site layout, post setting, panel attachment, and cleanup. Understanding each stage helps you plan your schedule and know what to expect when the crew shows up.
TL;DR
- Fence installation in San Diego typically takes 3 to 10 days from kickoff to finish, depending on yard size, material, and complexity.
- The process starts with site marking and removal of old fence if needed, then digging post holes or preparing footings.
- Posts go in next, set in concrete that needs 24 to 48 hours to cure before panels attach.
- Panel installation is the visible part, taking 1 to 2 days for a typical residential job.
- Final cleanup and minor adjustments wrap the job, though concrete may continue curing in the background.
- Weather, soil type, and existing structures on or near the property can add days to the timeline.
- Most jobs run Monday through Friday with evenings and weekends off, though rush jobs can run differently.
What to expect: the complete process
There are several distinct phases, each with a specific purpose. A typical residential fence install follows this sequence.
Phase 1: Site preparation and fence design layout
The first 1 to 2 hours of any fence job is site prep and layout. The crew walks the entire perimeter, marks corner posts with spray paint or flags, and checks for buried utilities like irrigation, gas lines, or electric. Calling 811 (before you dig) is standard, and professional installers always verify utility locations.
At this stage, the crew also identifies obstacles like rocks, tree roots, or slopes that might change the digging strategy. On sloped properties, the installer may adjust post spacing or recommend stepped panels to keep the fence line level. Trees and shrubs that could interfere with digging or panel placement are noted, and you’ll typically be asked which ones to preserve.
The site visit also confirms the fence type, height, and any custom details like gates, decorative caps, or color choices. If the design changes from your original quote, that’s usually flagged here before work starts.
Phase 2: Removal of existing fence (if needed)
If you’re replacing an old fence, removal happens next. This stage can add 1 to 3 days depending on fence length and how deeply the old posts are set. The crew removes panels first, then pulls or cuts out old posts. Concrete footings either get broken out with a jackhammer or dug around and lifted out, depending on depth and soil type.
All debris is hauled away and recycled or disposed of, usually included in your quote. On tight urban lots, removal might happen in stages if there’s limited space for a dumpster.
Phase 3: Digging post holes and setting footings
Post hole digging is the backbone of the installation. Most San Diego installers use either a hand auger (for soft soil) or a power auger (for harder ground with clay or decomposed granite). Holes typically go 24 to 30 inches deep for residential fencing, deeper for taller panels or sandy soil.
Each hole gets a gravel base (4 to 6 inches) for drainage, then the post goes in. Concrete (a bag or premix, or delivered concrete for larger jobs) fills the hole around the post. The post is checked for plumb (vertical) and level while concrete is still wet, then left to cure for 24 to 48 hours before panels attach.
For vinyl fencing, posts sometimes use metal sleeves instead of concrete footings, which speeds up the install but is less common in San Diego. Wood and composite panels almost always use concrete-set posts.
This phase typically takes 1 to 3 days depending on fence length and soil conditions. Sandy soil, common inland in San Diego County, digs fast. Clay-heavy soil near the coast or in South Bay slows the digging down. Hitting a large rock or an unexpected tree root adds extra time.
Phase 4: Concrete curing
After posts are set, concrete needs to cure before any load goes on it. Most installers recommend 24 hours minimum, 48 hours preferred. This waiting period happens in the background, and nothing visible happens. But it’s critical: panels attached to posts before concrete fully cures can shift or settle out of plumb, especially if weather turns wet or wind picks up.
Weather matters during curing. Rain can interfere with set time, and high heat speeds it up. San Diego’s mild climate usually means steady curing, but a hard rain or unexpected temperature swing can add a day to the schedule.
Phase 5: Panel installation and attachment
Once concrete has cured, panels go up. Wood privacy fence panels are typically pre-made, lifted into place, and screwed or nailed to the posts. Chain link panels roll out and attach to posts with brackets. Vinyl panels slot into post channels or attach with hardware depending on the system.
This phase is the most visible and fastest. A crew of two can install 100 to 150 linear feet of panels in a single day on flat ground. Obstacles like trees, hillsides, or existing structures slow the pace. Each panel is checked for level and square before final fasteners are tightened.
Gates, if included, are usually hung at the end of this phase. Gate installation adds 1 to 2 hours per gate and needs careful alignment so the gate swings freely.
Phase 6: Cleanup and final details
The final phase is site cleanup and a final walkthrough. Excess concrete, dig spoil, and packaging get cleared. The crew sweeps up debris and checks that all fasteners are tight and hardware is secure.
At this point, you’ll walk the fence line together. Any minor adjustments, touch-ups, or questions get resolved. The installer also typically walks you through maintenance expectations (wood staining cycles, vinyl cleaning, chain link care) and how to handle future repairs.
Timeline breakdown
A typical job unfolds like this:
- Day 1: Site prep and utility marking — 4 to 8 hours
- Day 2: Post hole digging and footings — 6 to 10 hours
- Day 3 to 4: Concrete curing (work paused, can’t proceed yet)
- Day 5: Panels and gates — 4 to 8 hours
- Day 6: Cleanup and walkthrough — 1 to 2 hours
Simple flat properties finish in 3 to 5 days. Complex jobs with slopes or gates stretch to 7 to 10 days. Weather delays can add more. Most contractors work Monday through Friday, 7 AM to 5 PM. Concrete curing can’t be rushed, so plan accordingly.
What factors slow down fence installation
Weather is the main one. Rain during the curing phase can delay the whole project by days. Heavy wind during panel installation can make the work unsafe. Strong sun and heat speed up concrete curing, which is good.
Existing obstacles add time: mature trees near the fence line, large rocks, dense roots, buried utilities, or steep slopes all require extra care and slower work. A perfectly straight, flat, tree-free yard is the fastest scenario.
Soil type matters. Sandy, loose soil digs fast but sometimes needs deeper holes for stability. Clay and decomposed granite slow the digging but provide stable footing. Hardpan soil can require a jackhammer.
Custom requests also add time: decorative post caps, staining or painting the fence immediately after install, extra gates, or significant site preparation before the crew arrives can each add a few hours to the timeline.
How do you know when your fence is ready to use
Your fence is technically done when the crew leaves and cleans up, but concrete continues to cure for several weeks afterward. For immediate use, though, it’s safe to use the fence once concrete has cured 24 to 48 hours, which is when panels got attached.
Don’t lean heavily on or climb the fence for at least a week. The concrete can support full weight long before that, but the extra stability takes a few days to fully develop. If you have kids or pets that will immediately climb the fence, mention this upfront so the installer can double-check all fasteners and bracing.
Wood stain or paint, if you want it, should wait until the wood has dried for at least 2 weeks after install. Applying finish too soon traps moisture and can cause checking or peeling.
Frequently asked questions
How long does fence installation take in San Diego?
Most residential fences take 3 to 5 days from start to finish. Larger properties, complex designs, or weather delays can stretch it to 7 to 10 days. The concrete curing phase takes 24 to 48 hours and can’t be rushed.
Can a fence be installed in one day?
Smaller projects, like replacing a single panel section or installing a short run, sometimes finish in one day. A full-yard privacy fence install always takes multiple days because concrete needs time to cure between phases.
What if it rains during fence installation?
Light rain doesn’t stop the work. The crew adjusts and keeps going. Heavy rain during the digging or concrete-setting phase typically pauses the job because wet concrete cures slower and wet soil is harder to work with. Most installers reschedule around forecasted storms.
Do I need to be home during the installation?
You don’t need to be there the entire time, but being home during the first day (site prep and layout confirmation) and the final day (walkthrough) is helpful. The middle days can proceed without you.
How much does installation labor cost in San Diego?
Labor for a residential privacy fence runs roughly $20 to $40 per linear foot depending on material and complexity. The San Diego fence cost guide breaks down material costs and total estimates by fence type.
Is there a best season to install?
Spring (April to June) and early fall (September to October) are ideal because soil is dry and weather is stable. Winter and summer are workable but come with scheduling pressure and weather risk.
Ready to start your fence installation
Understanding the fence installation process helps you plan your timeline and set realistic expectations. The process is straightforward: site prep, post setting, concrete curing, panel install, and finish. Rain, soil type, and existing obstacles might add days, but San Diego’s mild climate makes most jobs predictable.
The contractors in the Fence Pros San Diego network handle the entire process from start to finish across San Diego County’s coastal, inland, and East County conditions. Get a free quote and ask about timeline expectations specific to your property, and we’ll connect you with a licensed local fence installation contractor ready to build.