A sagging chain link fence can point to loose fabric, lost tension, a shifted post, or a gate opening that has moved out of alignment. The visible dip shows where the problem appears, but not always where it began. A contractor checks the whole affected run before recommending tightening or replacement.
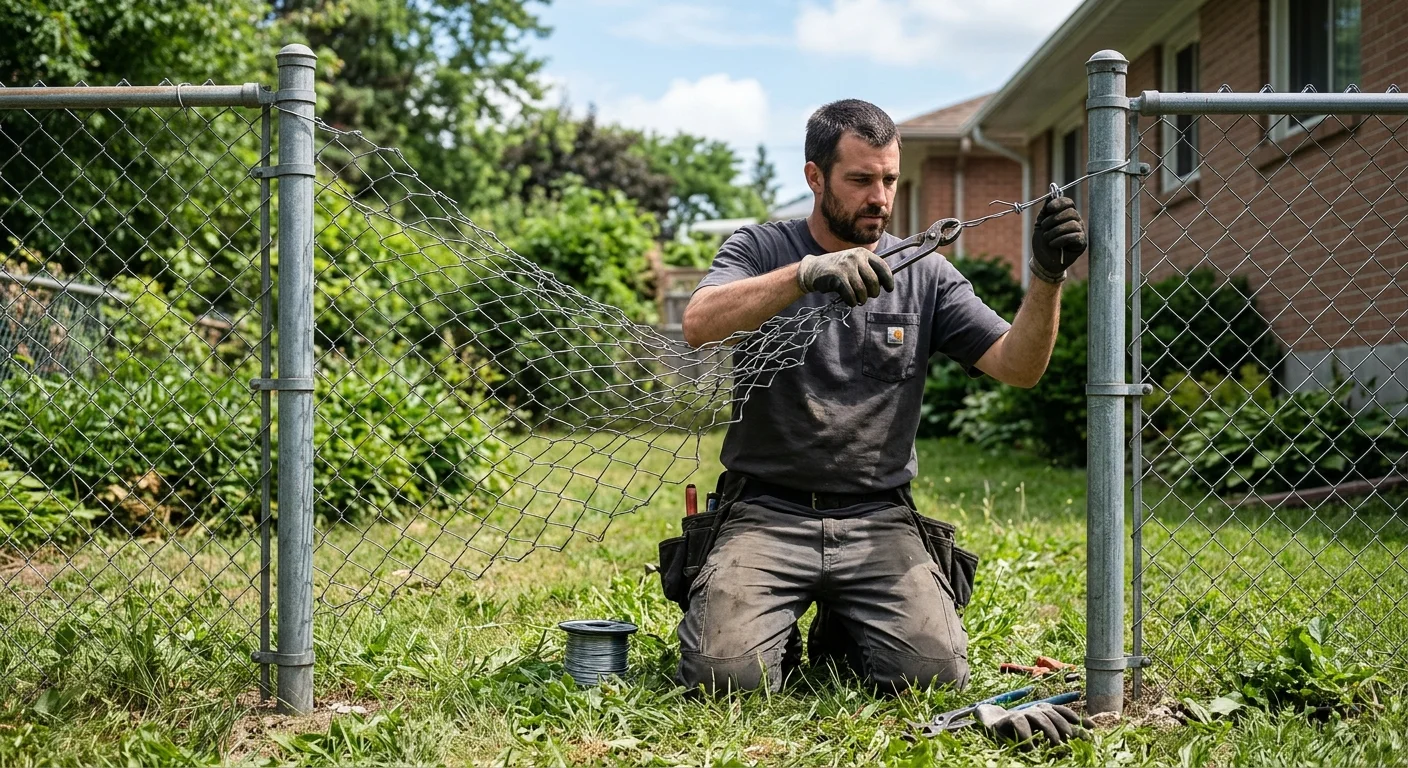
What sagging fabric, loose tension, and leaning posts can indicate
The shape of the sag gives the contractor a useful starting point. A broad dip between upright posts may involve loose fabric or connections. A sharp change near one end may direct attention toward a terminal post. If the mesh and posts lean together, the support structure becomes part of the inspection.
A pro follows the fabric from one terminal point to the other. They check its top and bottom edges, ties, rails, tension bars, and visible attachment points. They also look for separated rail joints, bent pieces, torn mesh, or missing hardware. These details help distinguish a loose connection from damage affecting several parts.
Post position matters just as much as fabric tension. A contractor compares the posts along the run and checks whether one has shifted relative to the others. They’ll also consider the fence line, corners, grade changes, and nearby gates. Pulling fabric tighter won’t correct a support that has moved.
San Diego County requests can involve coastal North County, central San Diego, East County, or the South Bay. Property layouts differ across those settings, so photos should include slopes, corners, walls, and tight access areas. For an El Cajon slope, the grade belongs in the frame. For a Chula Vista side yard, wider angles can show how the fence relates to a gate or building.
A contractor may also compare the affected section with the rest of the fence. That comparison shows whether the problem is isolated or extends through several runs. Our chain link fence service explains how matched professionals handle new sections when repair alone won’t address the condition.
How gates and terminal posts change the repair plan
Terminal posts anchor the fabric at ends, corners, and many gate openings. That makes their position important when a nearby section starts drooping. A pro checks whether the fabric remains attached, whether the connecting hardware is intact, and whether the post still aligns with the fence line.
Gate openings add moving parts to the diagnosis. The contractor checks the gate frame, hinges, latch, and the posts on both sides. A gate that drags, swings unevenly, or misses its latch may point toward movement within the opening. The fabric beside it can also lose tension when an anchoring post changes position.
The inspection separates gate trouble from fence trouble. Sometimes the gate frame remains aligned while the adjoining fabric hangs loose. In other cases, the opening and surrounding fence both show changes. That distinction affects which parts the contractor examines for reuse or replacement.
A double gate or wide driveway opening needs context in the photos. Show the entire opening with both gate leaves in their normal positions. Include the hinge side, latch area, and adjacent fence runs. Don’t crop out the tops or bases of the posts. Those areas help the contractor compare alignment from one side to the other.
A gate shouldn’t be forced into place before the inspection. That can hide its normal resting position and make remote review less useful. Instead, describe where it rubs, stops, or misses the latch. Note whether the issue appeared with the fence sag or was already present.
Our guide to chain link gates in San Diego covers common gate layouts and planning details. It can help you name the opening type when describing the problem to a contractor.
When tightening may work and when damaged parts need replacement
Tightening may be an option when the supporting structure remains aligned and the fabric is still serviceable. The contractor checks the terminal posts, rails, connections, and mesh before deciding. If those components can hold tension correctly, the repair may focus on resetting and securing the affected fabric.
That decision can’t be made from the sag alone. Loose fabric may appear beside a bent rail, damaged tension bar, separated connection, or shifted post. Tightening against a damaged anchor won’t address the underlying condition. A pro identifies which component stopped supporting the fence as intended.
Visible mesh condition also shapes the plan. The contractor looks for torn links, distorted openings, sharp bends, disconnected edges, and sections that no longer follow the fence line. They’ll note visible corrosion, coating loss, or damage around attachment points. Some problems may be limited to one component. Others can affect the practical repair area.
Replacement doesn’t always mean removing the entire fence. A contractor may recommend replacing a damaged part while retaining suitable sections around it. The final scope depends on how the posts, rails, fabric, and gate opening work together. That’s why a full-run photo is more useful than a close-up of the lowest point alone.
Material details can help with matching. Note whether the fence has a metallic finish or a colored coating. The galvanized chain link fence guide provides more context about galvanized components without assuming every existing fence uses the same finish.
Don’t try to diagnose the repair by pulling on the mesh. That won’t show how the fence behaves under its installed connections. Leave the fabric and hardware in place so the contractor can review their normal positions. The pro you hire can then explain what may be retained and what needs replacement.
What photos and measurements help a contractor quote the repair
Start with one straight-on photo showing the entire affected run. Include both terminal points, the tops of the posts, and the ground line. Then take an angled view that makes leaning or bowing easier to see. If the run turns a corner, photograph both sides of that corner.
Add close photos of visible trouble spots. Useful subjects include loose ties, separated rails, torn mesh, bent hardware, and connections at terminal posts. Keep enough surrounding fence in each frame to show where the part sits. An extreme close-up without context can be difficult to place.
For a gate, photograph the full opening while the gate rests naturally. Include the hinge and latch sides. A second view from the opposite side can show whether the frame sits squarely between its posts. Mention dragging, binding, or latch misalignment in your message.
Basic measurements help the contractor understand scale. Record the approximate length and height of the affected fence run. If there’s a gate, include the approximate opening width. Note the distance from the deepest sag to the nearest end, corner, or gate post. You can also count the posts within the affected run.
Don’t climb the fence, remove hardware, or pull the fabric for these measurements. Photos taken from accessible ground are enough for an initial conversation. If vegetation or stored items block part of the fence, mention that rather than moving anything difficult or unsafe.
Include the San Diego County city and a short description of the fence location. “South Bay side yard beside a walk gate” provides more context than “back fence.” Also mention any slope, corner, shared boundary, nearby wall, or limited access visible at the site.
These details help the matched contractor discuss the likely scope, but photos can’t confirm every condition. An onsite review may still be needed before the contractor sets the work and price. Fence Pros San Diego doesn’t perform repairs or set prices. We match customers with licensed, independent professionals through our fence repair service.
When to call us
If the fabric keeps dropping, a post has shifted, or the gate no longer aligns, it’s time to have a licensed fence pro assess the whole run. You can check a contractor’s license with CSLB. Call us at (858) 400-4906 and we’ll connect you with a licensed fence contractor.