A leaning chain link fence post doesn’t automatically settle the repair decision. The post, its base, attached fittings, fabric, rails, and nearby gates all need inspection before anyone defines the work.
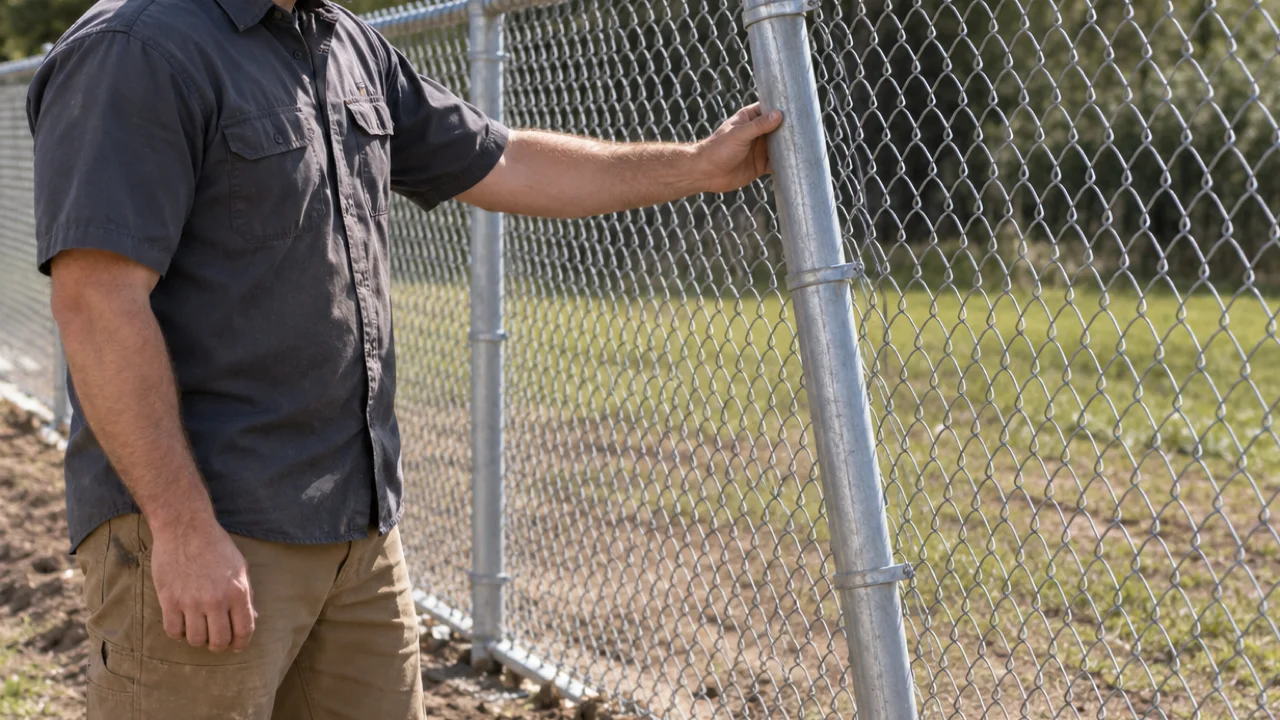
What leaning, movement, and damaged fittings can indicate
Start by looking at what the post does when the fence is undisturbed. A visible lean matters, but it’s only one part of the condition.
A fence contractor may check whether the post stays still or moves under light pressure. They may also compare it with nearby posts. That comparison helps separate one affected post from movement across a longer section.
The ground around the post deserves attention too. Look for an opening around the base, disturbed soil, exposed material, or a change in grade. Don’t dig or pull the post loose for the photos. The contractor needs to see the condition as it stands.
Next, photograph every connection near the post. Include bands, caps, braces, ties, rails, tension hardware, and the chain link fabric. A fitting that has slipped, bent, separated, or gone missing may change the proposed scope.
A leaning post can also appear beside fabric that’s no longer aligned. That doesn’t prove the post caused the fabric problem. The contractor should inspect both before recommending chain link fence post repair.
Watch for several visible symptoms:
- The post no longer lines up with neighboring posts.
- The post moves while adjacent posts remain still.
- A rail has pulled away or shifted at its connection.
- The fabric looks loose, twisted, or crowded near the post.
- A nearby gate no longer meets its latch cleanly.
- Hardware appears bent, detached, or incomplete.
If loose fabric is the main concern, our guide to a sagging chain link fence covers that separate assessment. Surface deterioration and metal loss call for a different review, explained in our guide to a rusted chain link fence.
How line, terminal, corner, and gate posts affect the scope
The post’s position helps a contractor understand what connects to it. Don’t assume every chain link fence post has the same role or repair scope.
A line post appears within a straight fence run. Photos should show the affected post and several posts on both sides. That wider view lets the contractor compare alignment across the run.
A terminal post appears where a fence run ends. Include the end connection, fabric edge, rails, and surrounding ground. If the fence meets another structure, show that relationship without guessing how the connection was built.
A corner post appears where the fence changes direction. Photograph both approaching runs. A close image of one side can hide movement or damaged hardware on the other.
A gate post sits beside a gate opening. Its review should include the gate, hinges, latch, opposite post, and clearance around the moving gate. Report whether the gate drags, swings differently, or misses the latch. Don’t force a gate that has become difficult to move.
These labels guide the inspection. They don’t establish the required post size, depth, or base design. The approved information for this site doesn’t confirm a universal measurement for those details. It also doesn’t confirm that every replacement post must use the same setting method.
A licensed contractor should determine the specifications for the property, fence layout, and proposed work. City of San Diego rules and rules for unincorporated San Diego County aren’t identical. Other cities may have their own review process. Ask the contractor which authority applies before accepting specifications.
You can also check a contractor through the California Contractors State License Board. Fence Pros San Diego connects customers with licensed, independent local fence professionals.
Why fabric, rails, and gates need checking with the post
A chain link fence works as an assembled section. That’s why a proposal focused only on the visible post may leave important questions unanswered.
Ask the contractor to inspect where the fabric meets the affected area. Note whether it remains aligned across the run or gathers near the post. Include any loose edges, sharp-looking projections, or detached ties in your photos. Keep people and pets away from anything that looks exposed until a professional reviews it.
Rails should appear in both close and wide photos. A close photo shows the connection. A wider photo shows whether the rail follows the neighboring fence line. If a rail has separated, don’t push it back into place before the assessment.
Gates require a separate movement check. Tell the contractor what happens during ordinary opening and closing. A gate that drags, shifts, or misses its latch adds information about the surrounding section. That observation doesn’t prove which component failed.
The contractor should also look beyond the nearest connection. One moved post may sit beside damaged fittings or fabric that was pulled out of position. Another project may involve a sound surrounding section and a narrower post repair. The inspection decides between those scopes.
For broader damage, compare the proposed work with the affected items listed under fence repair and restoration. If the contractor recommends rebuilding a longer chain link section, review what’s included under chain link fence installation.
On a narrow Chula Vista side yard, photos should show nearby walls and access space. On an East County slope, show the full grade around the run. For an Oceanside property, include wide views from both sides when access allows. These images give the contractor site context without replacing an on-property inspection.
When repair and replacement deserve separate proposals
Ask for separate proposals when more than one reasonable scope remains after inspection. This makes the differences visible without treating repair and replacement as interchangeable.
A repair proposal should identify the components the contractor plans to retain. It should also name the post work, affected fittings, fabric adjustments, rail work, and gate work included. If something visible isn’t included, ask whether it needs separate attention.
A replacement proposal should define how much of the affected section changes. “Replace post” can be too vague when fabric, rails, terminal connections, or a gate also need handling. Ask the contractor to list those items individually.
Compare proposals by scope, not just their final totals. Fence Pros San Diego doesn’t set contractor prices. The homeowner contracts with and pays the independent professional directly.
Useful proposal questions include:
- Which post or posts are included?
- Which existing components will remain?
- Are fittings, rails, and fabric adjustments listed?
- Is gate adjustment included or excluded?
- Who will remove replaced material?
- Does the proposal depend on access or site conditions?
- Are approvals or property-line questions excluded?
- What conditions could change the written scope?
Don’t rely on an unsupported universal answer for post depth, post size, or whether a base needs a particular material. Those specifications aren’t confirmed in the approved sources for this page. Ask the contractor to explain the proposed specification and how it applies to your property.
Permit treatment also depends on the jurisdiction and proposed fence. The City of San Diego and unincorporated County publish different fence guidance. A permit exemption doesn’t automatically settle every design, zoning, coastal, or property-line issue. The contractor should identify the applicable authority when approvals may affect the work.
For a broader comparison of post decisions, read our guide to fence post repair versus replacement.
What photos help a fence pro assess the affected section
Good photos help a contractor understand the initial request. They don’t replace an on-site assessment, but they can reveal which components require closer review.
Begin with a wide photo from each accessible side. Capture the affected post, neighboring posts, the fence line, and the ground. Step back far enough to show any change in direction or grade.
Then take a straight-on photo. This makes the post’s position easier to compare with the rest of the run. Add a view looking down the fence line when access is clear.
Close photos should cover the post at ground level and every attached fitting. Include the cap, rail connections, fabric ties, bands, and tension hardware that can be seen safely. If corrosion is visible, photograph the entire affected area rather than one isolated spot.
For a gate post, include the full gate in both closed and open positions. Add close photos of the hinge side, latch side, and opposite post. Don’t place yourself in the gate’s path if it moves unpredictably.
Send these details with the images:
- The property’s city or unincorporated community
- Whether the post moves or only appears tilted
- Whether the condition changed recently
- Whether a gate now drags or misses its latch
- Whether the fabric or rail has separated
- Whether access is available from both fence sides
- Whether the fence appears to follow a shared boundary
- Any known event connected with the damage
For a shared boundary fence, California Civil Code Section 841 may affect notice and cost-sharing between adjoining landowners. It presumes equal responsibility for reasonable boundary-fence costs unless an agreement or evidence changes that presumption. It also requires advance written notice containing specified information before costs are incurred. Discuss the specific situation with the adjoining owner and seek legal guidance when the responsibilities are disputed.
When to call us
Call when a chain link fence post leans, moves, affects connected fabric, or changes how a gate works. A licensed fence pro can inspect the whole section and prepare the appropriate repair or replacement scope.
Call us at (858) 400-4906 and we’ll connect you with a licensed fence contractor.